(Difference between revisions)
| Revision as of 13:13, 4 August 2006 Peter (Talk | contribs) ← Previous diff |
Revision as of 13:16, 4 August 2006 Peter (Talk | contribs) Next diff → |
||
| Line 12: | Line 12: | ||
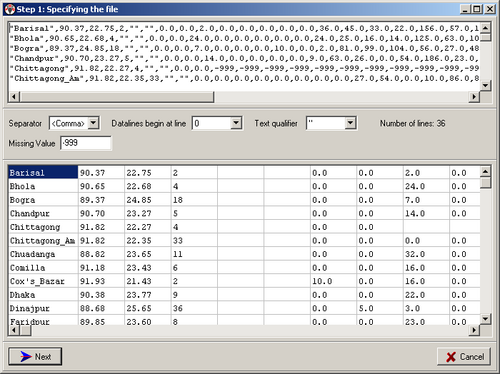
| |width="225"|Assume the data are imported into the ‘Example1’ stations list. Longitude, Latitude etc. are already specified, so we leave those fields empty.||[[Image:image023.png|500px|]] | |width="225"|Assume the data are imported into the ‘Example1’ stations list. Longitude, Latitude etc. are already specified, so we leave those fields empty.||[[Image:image023.png|500px|]] | ||
| |- | |- | ||
| - | |width="225"|Assume that we want to add the stations to the ‘Example1’ list. Longitude, Latitude etc. are already specified, so we leave those fields empty.||[[Image:image025.png|image025.png]] | + | |width="225"|text||[[Image:image025.png|image025.png]] |
| |- | |- | ||
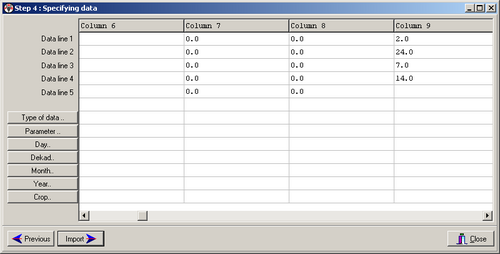
| - | |width="225"|:The stations are indeed found in the database. We get to the next screen | + | |width="225"|:The stations are found in the database. The next screen is shown |
| ||[[Image:image027.png|500px|]] | ||[[Image:image027.png|500px|]] | ||
| |- | |- | ||
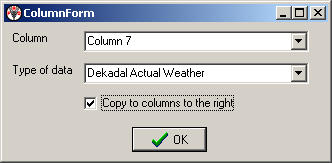
| - | |width="225"|The dekadal rainfall starts in column 7. First we specify the type of data after pressing the corresponding button on the left side of the screen. We see:||[[Image:image029.png|image029.png]] | + | |width="225"|The dekadal rainfall starts in column 7. First the type of data is specified after pressing the corresponding button on the left side of the screen.||[[Image:image029.png|image029.png]] |
| |- | |- | ||
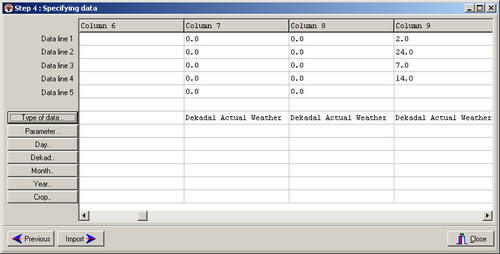
| - | |width="225"|After pressing <Ok> we see:||[[Image:image031.png|500px|]] | + | |width="225"|After pressing <Ok> this window appears||[[Image:image031.png|500px|]] |
| |- | |- | ||
| - | |width="225"|Now have to specify the parameter (=rainfall):||[[Image:image033.png|image033.png]] | + | |width="225"|The agro-meteorological parameter (=rainfall) is specified||[[Image:image033.png|image033.png]] |
| |- | |- | ||
| - | |width="225"|We specify the dekad:||[[Image:image035.png|image035.png]] | + | |width="225"|The dekad is specified||[[Image:image035.png|image035.png]] |
| |- | |- | ||
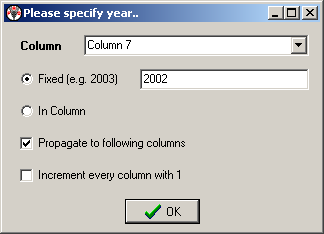
| - | |width="225"|The month does not have to be specified, the dekad number goes from 1 to 36. We specify the year: | + | |width="225"|The month does not have to be specified, the dekad number goes from 1 to 36. The year is specified: |
| ||[[Image:image037.png|image037.png]] | ||[[Image:image037.png|image037.png]] | ||
| |- | |- | ||
Revision as of 13:16, 4 August 2006
Example of importing ASCII data into the AgrometShell database
The filename of the file that will be imported is Dekadal_Actual_Rainfall_2002_Bangladesh.dat. This file contains dekadal rainfall for 2002:


